
Last updated September 22, 2026
Free on-site gate assessment - hinges, posts, and your LiftMaster or Nice gate operator checked before anything is quoted
The assessment is free and the quote is the invoice.

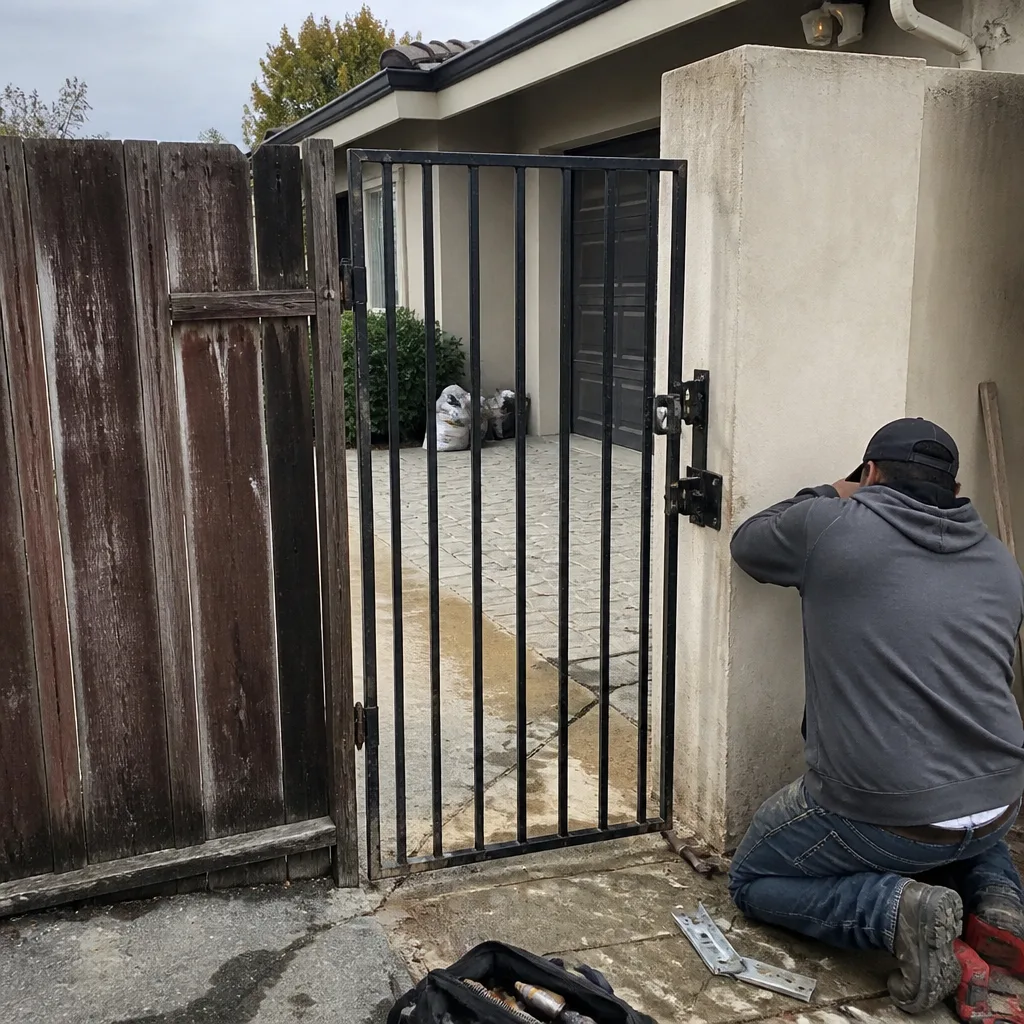 Before
 After
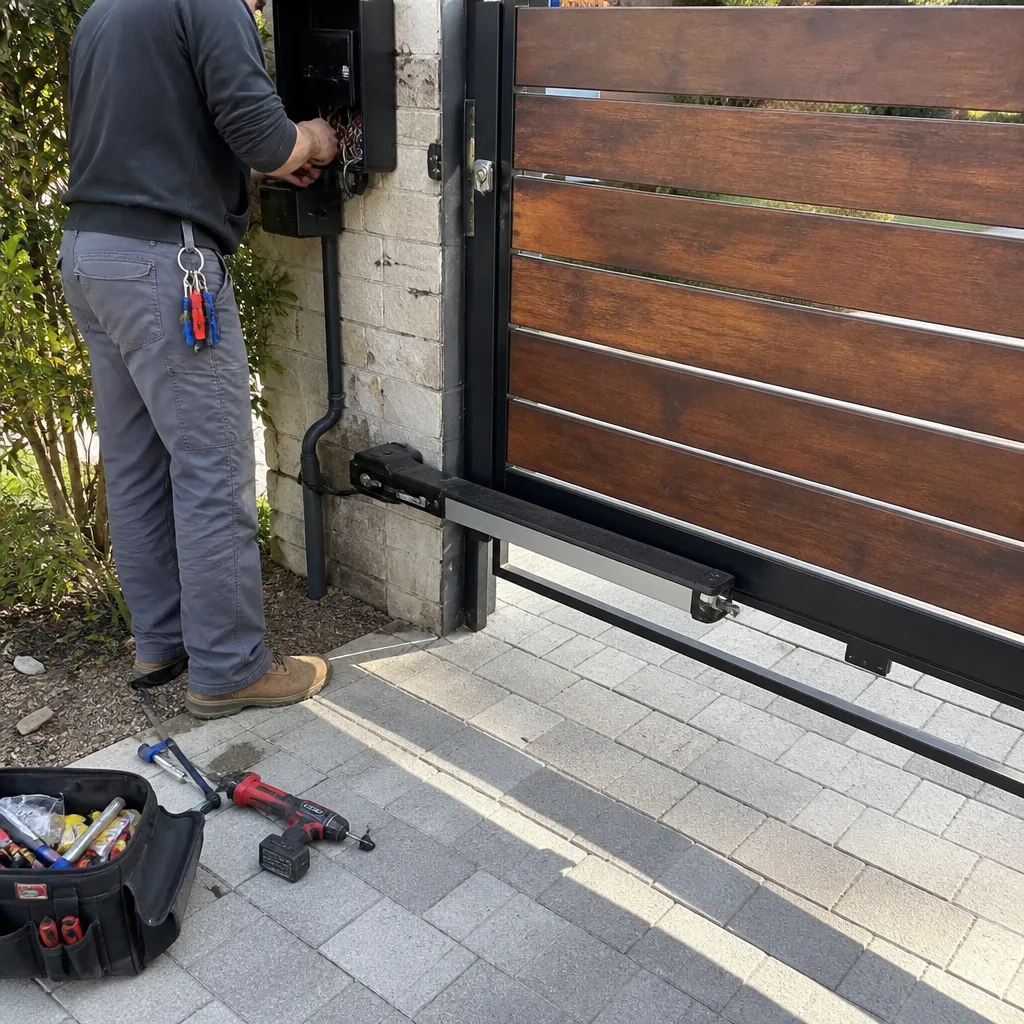
After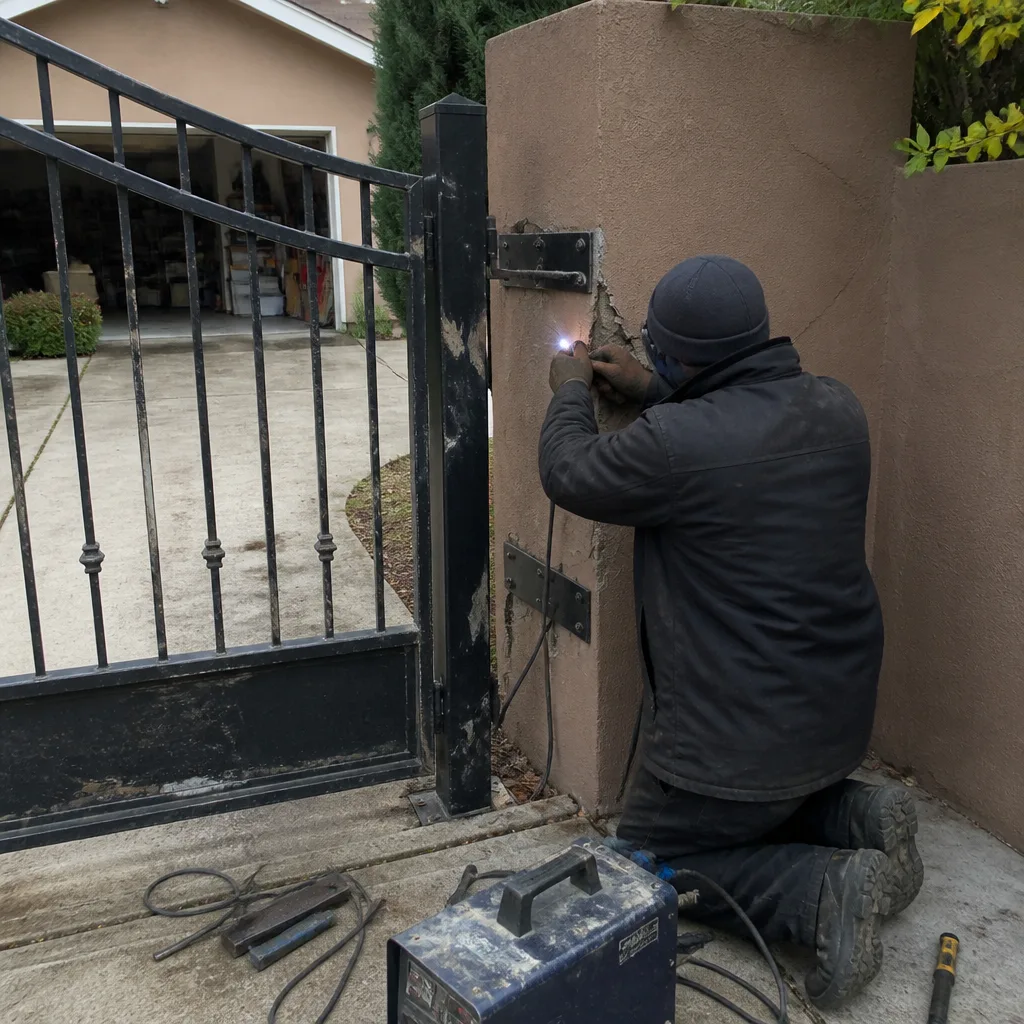 Before
 After
After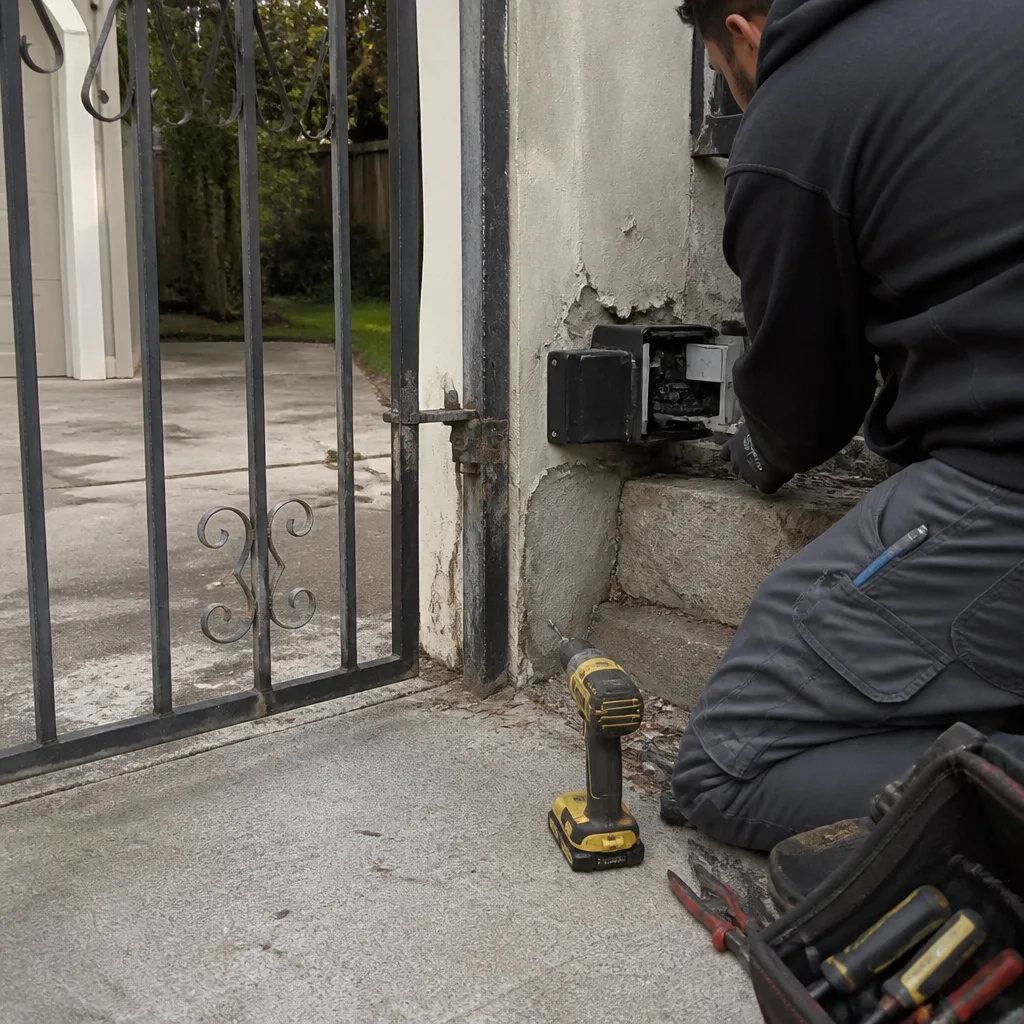 Before
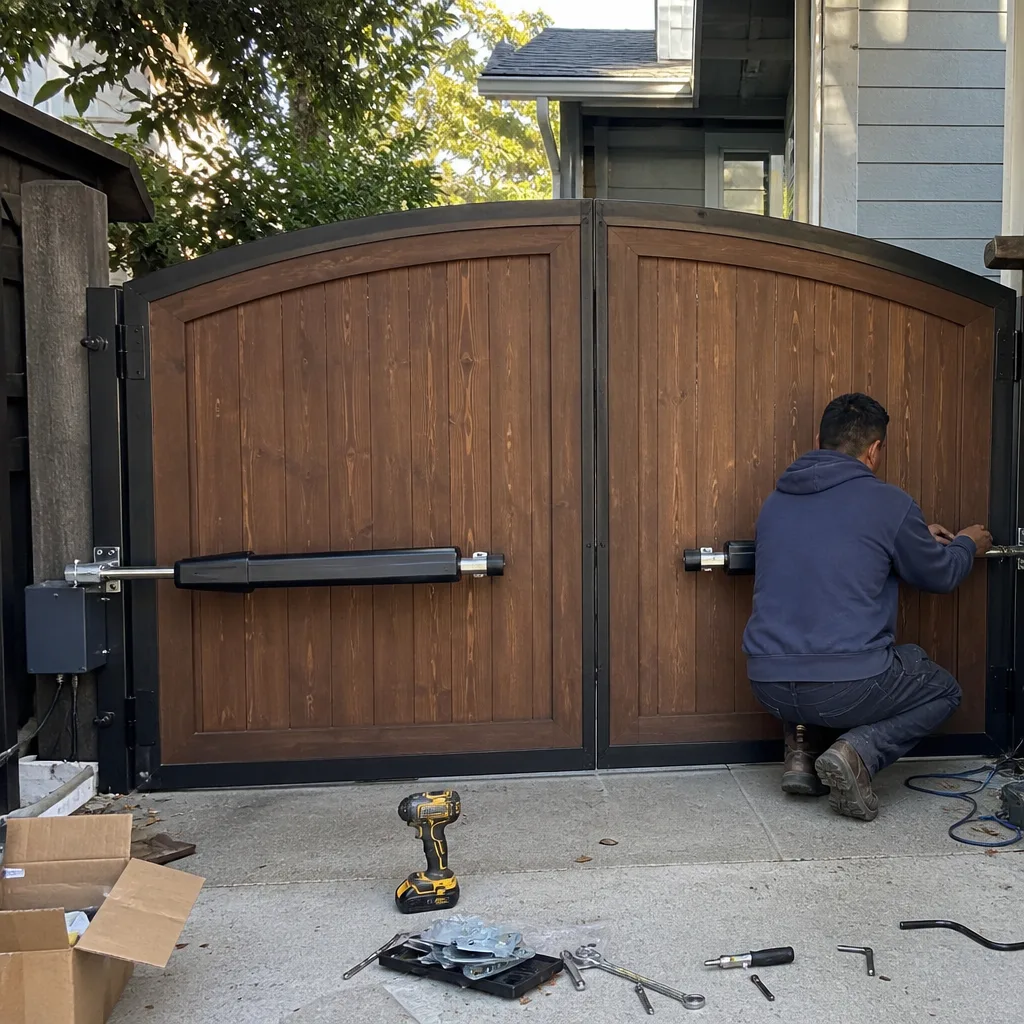
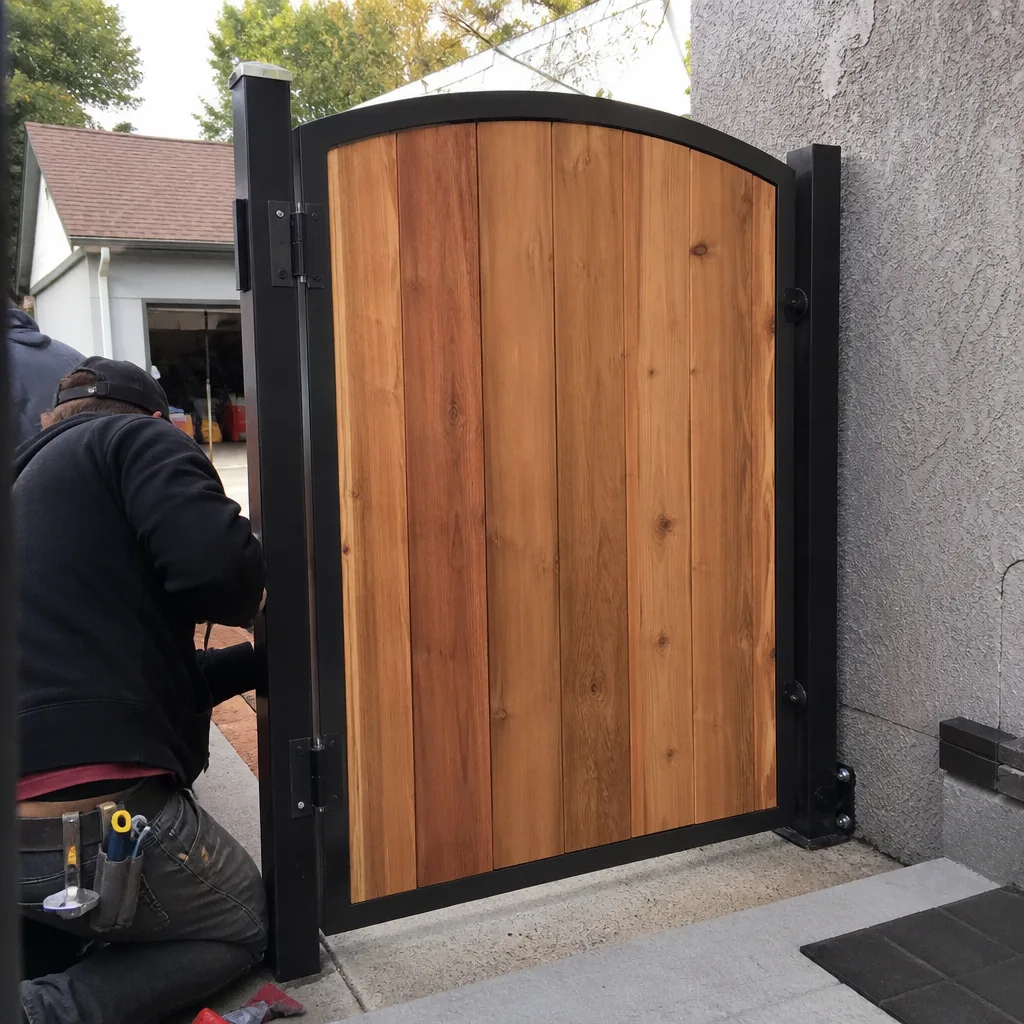 After
AfterGate Repair Maintenance Checklist for San Mateo Homeowners
Every maintenance checklist ever printed tells you to “check gate operation.” None of them tell you what a limit-switch reading of 4.2 volts versus 5.1 volts means for your gate’s remaining service life. In San Mateo, where salt air from the Bay meets winter moisture rolling off the Coastal Range, that gap between “working” and “about to fail” is where homeowners lose money. We’ve documented 22,000+ gates since 2014, and the ones that cost the least to own all share one trait: the owner knew the numbers before something broke. Our Gate Repair Warning Signs: A San Mateo Homeowner’s Reference Guide covers the early symptoms to watch for. This guide gives you those numbers - voltage thresholds, hinge gap tolerances, inspection intervals tied to San Mateo’s wet season, and a logging format that prevents you from paying twice for the same diagnostic.
Quick Answer
A proper gate maintenance checklist for San Mateo homeowners includes monthly visual inspections of hinges and wheels, quarterly voltage and travel-distance tests with documented threshold values, and bi-annual deep inspections before October and March - the two highest-risk months for component failure in this climate. The critical pass/fail numbers are: gate operator battery above 12.4 volts under load, hinge gap under 3/16 inch, and limit-switch travel stopping within 2 degrees of factory setpoint. Log every reading with a photo; future technicians (or your next self) will work from evidence instead of guesses.
Table of Contents
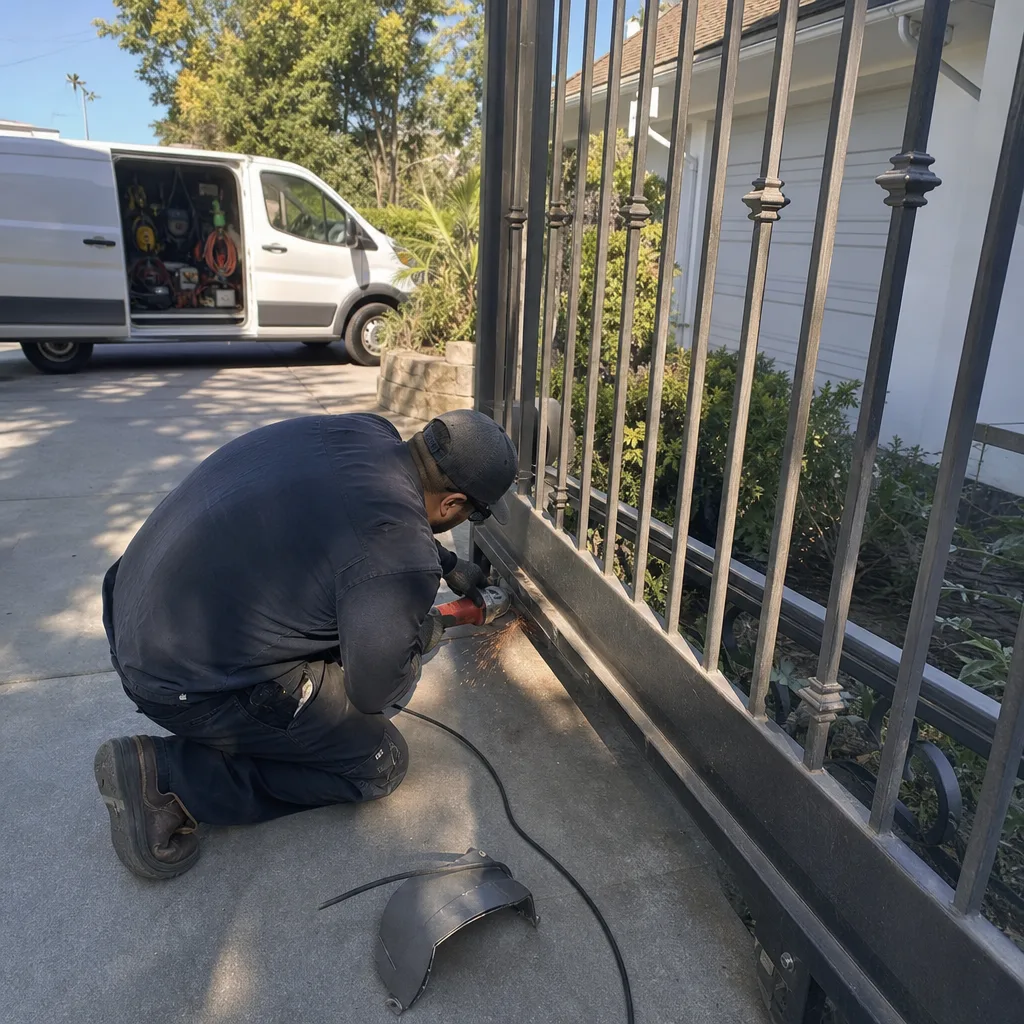
- Monthly Visual Inspection: What to Look For
- Voltage and Travel-Distance Thresholds That Matter
- San Mateo’s Wet Season: Why October and March Define Your Calendar
- The Five Places Salt Air Attacks First
- How to Photograph Your Wiring Before Any Service Visit
- The Maintenance Log Format That Saves Diagnostic Fees
- Brand-Specific Maintenance Notes for Common San Mateo Installations
- Annual Deep Inspection Checklist
 Before
 After
AfterMonthly Visual Inspection: What to Look For
Start with the gate at full closed position. Stand at the motor side and look across the top rail. Any twist or sag visible to the eye is already beyond tolerance. Measure it anyway: string a line from the top front corner to the top rear corner. A 1/4-inch belly in a 16-foot gate means the hinge bolts are working loose or the post footing is shifting - both common in San Mateo’s clay-heavy soils after winter saturation.
Check these six points in order:
- Hinge gap. Insert a 3/16-inch drill bit between the hinge leaf and the gate frame. If it slides through freely, the pin is worn or the bolt is backing out. Tighten to 45 ft-lb with a torque wrench; don’t guess by hand. In Hillsdale and Baywood-Aragon, where we see the highest wind exposure on the Peninsula, hinge wear accelerates 30-40% faster than inland San Mateo neighborhoods.
- Wheel contact (sliding gates only). The guide wheel should kiss the track without preload. Press down on the gate mid-span; if the wheel lifts off, the track is low or the frame is twisted. A wheel carrying weight instead of guiding it will flat-spot in 6-12 months.
- Chain or belt tension. For chain-drive operators, mid-span deflection should be 1/2 to 3/4 inch on a 10-foot run. Tighter causes bearing wear; looser causes jump under start load. Belt drives (common on newer Linear and Ghost Controls installations in San Mateo) should show no cracking at the bend radius and no glaze on the tooth faces.
- Photo-eye alignment. The LED on the receiver should be solid, not flickering. A flicker means misalignment or condensation in the lens - the latter is a San Mateo specialty from October through April. Wipe with a dry cloth; if the flicker persists, the beam path may have shifted when the post settled.
- Control box interior. Open only if you’re comfortable with low-voltage wiring. Look for spider webs, ant trails, or moisture staining. We’ve found black-widow webs in three San Mateo control boxes this year alone; they like the dry, warm enclosure. A shop vacuum with a soft brush is the right tool, not compressed air (that drives debris into the terminal blocks).
- Concrete and post base. Any new crack radiating from the post base, or any gap opening between concrete and soil, means water is getting under the footing. In the flood-prone zones near Laurelwood and the lagoons, this is the first sign of a post that will lean within two years.
Document anything that changed since last month. “Same as March” is a valid log entry - it establishes a baseline.
Voltage and Travel-Distance Thresholds That Matter
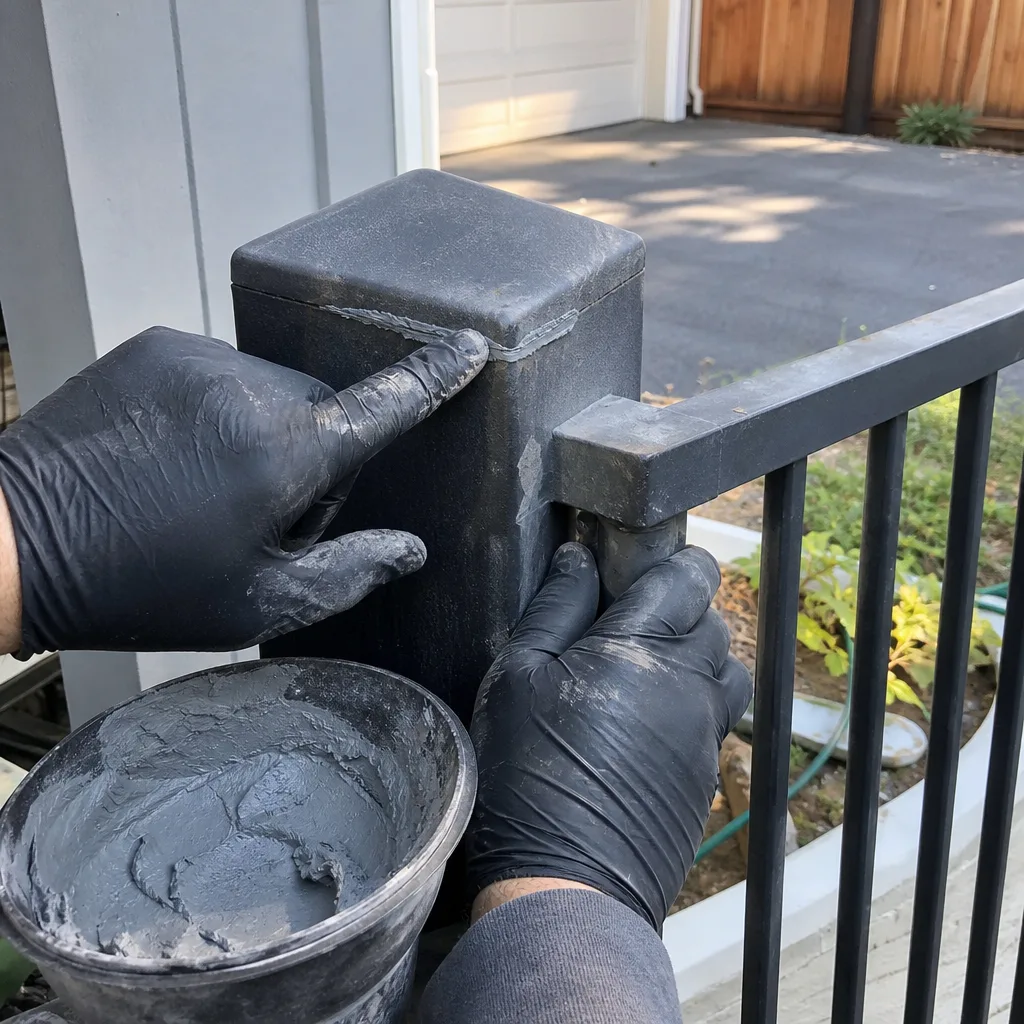
This is where most checklists stop being useful. “Test the opener” tells you nothing. These numbers tell you everything.
Battery voltage (all DC operators):
Measure at the battery terminals with the gate at rest, then again during a full open or close cycle. At rest, 12.6 volts is fully charged; 12.4 is acceptable; below 12.2 means the battery is sulfated or the charger board is failing. Under load (gate moving), anything below 11.8 volts indicates the battery cannot deliver starter current. In San Mateo’s cooler microclimates near the water, battery capacity drops 20% in winter - a battery that passed in September may fail in January.
Limit-switch travel (all operators with mechanical or magnetic limits):
The limit switch tells the motor when to stop. On a properly set operator, the gate should reach physical stop (the mechanical hard limit) within 2 degrees of the electrical limit setting. You can check this with the operator’s diagnostic display or with a multimeter on the limit circuit. A reading that drifts - say, from 0.8 degrees of margin in January to 3.2 degrees in June - means the limit cam is slipping or the gate is binding and the motor is overshooting to compensate.
Here’s what the numbers mean in practice:
- 0-2 degrees margin: Normal. The electrical limit stops the gate before the mechanical stop takes the load.
- 2-4 degrees margin: Monitor monthly. The limit is approaching the hard stop; binding or wear is developing somewhere in the system.
- Over 4 degrees: Failure imminent. The gate is hitting the mechanical stop under motor power. Every impact work-hardens the stop bracket and loosens the post footing. Schedule service.
Current draw (if your operator displays it):
Normal running current for a residential swing gate is 3-5 amps; sliding gates run 4-7 amps depending on weight. A spike to 8+ amps at any point in the cycle means binding - track debris, hinge seizure, or a wheel carrying load. Sustained high current without binding means the motor brushes are worn or the gearbox grease has broken down. On Viking operators common in San Mateo’s estate properties, we see this pattern first in the open direction, where the gate fights gravity on a slight upslope.
Hinge gap tolerance:
We covered the 3/16-inch pass/fail above. But measure it three places: top, middle, and bottom of the hinge. A gap that tapers - tight at bottom, 1/4 inch at top - means the post is leaning or the gate is racked. In San Mateo’s earthquake country, this pattern often traces to a 2014 or 2019 tremor that the homeowner forgot but the gate remembers.
San Mateo’s Wet Season: Why October and March Define Your Calendar
The Peninsula doesn’t have dramatic seasons. It has moisture transitions, and they matter more than temperature.
October is when the first Pacific storm track drops rain into a gate system that’s been dry for five months. Grease that protected hinges through summer suddenly emulsifies and washes out. Dust that accumulated in tracks turns to paste. Most importantly, the ground starts swelling - San Mateo’s clay soils expand 10-15% when saturated, and that movement transfers to post footings. A gate that closed cleanly in September will bind by November if the post shifts 1/8 inch.
March is the mirror risk. By then, hinges have run wet for four months. The protective oil film is gone; fretting corrosion starts on stainless pins in galvanized housings. Tracks have collected a winter’s worth of leaf debris and gravel washdown. And the soil is at peak saturation, so any footing that was going to heave has heaved. We see 40% of our annual hinge replacements in San Mateo between March 1 and April 15.
Your inspection calendar should look like this:
- Mid-September: Deep inspection, re-grease hinges with lithium-based grease (not WD-40, which evaporates), clear tracks, verify drainage around post footings.
- Early November: Quick check after first major storm. Look for new binding, listen for motor strain, check battery under load now that temperatures have dropped.
- Late February: Deep inspection before the March failure window. Replace any hinge showing fretting (orange dust around the pin). Check limit-switch margin - winter binding often causes overshoot that doesn’t self-correct in spring.
- Mid-April: Post-winter assessment. Document any footing movement; if the post has shifted, spring soil contraction may not return it to original position.
In the Baywood and Shoreview neighborhoods, where fog drip adds moisture even without rainfall, we recommend adding a January inspection. The condensation cycle - wet at night, dry by noon - is harder on control boxes than steady rain.
The Five Places Salt Air Attacks First
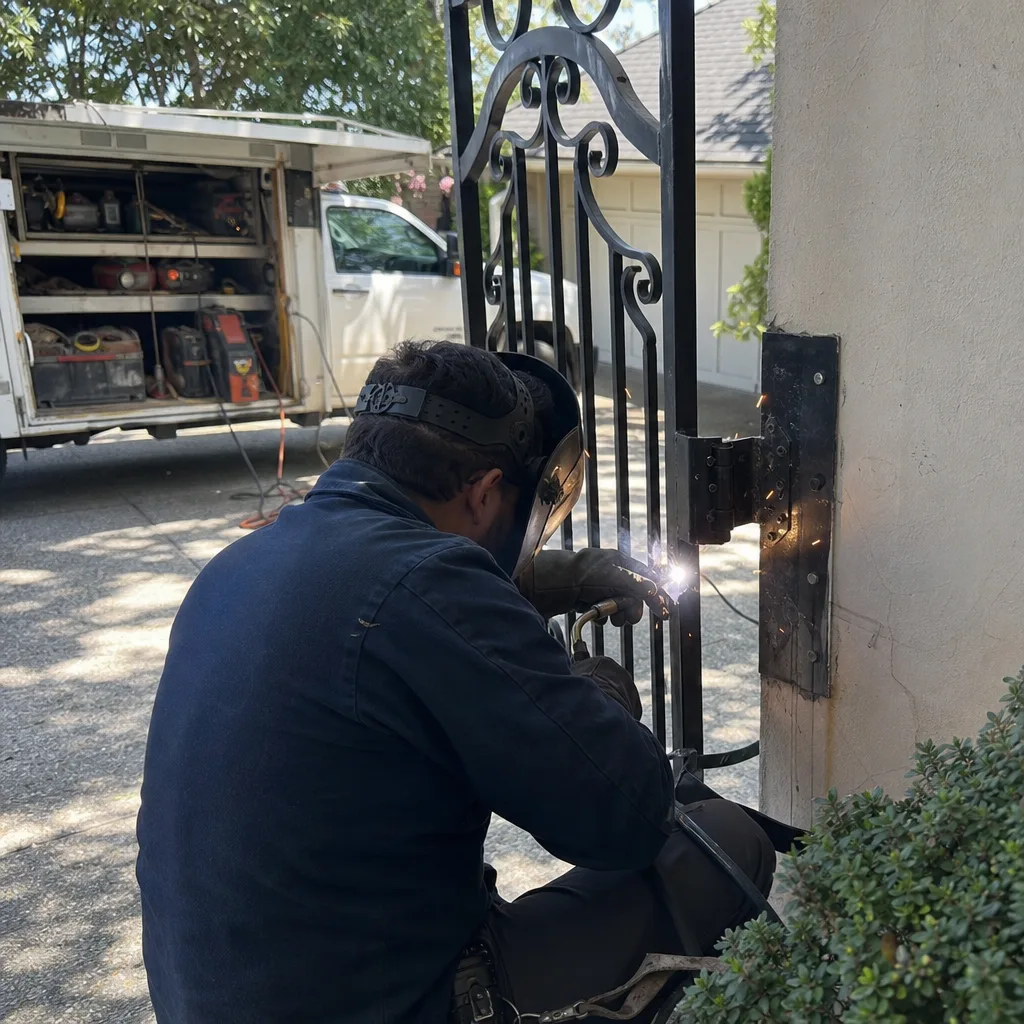
San Mateo’s position on the west side of the Bay means salt air reaches farther inland than most homeowners expect. We’ve replaced rusted components in Hayward Park that were installed three years prior with “stainless” hardware. Salt doesn’t care about marketing.
These are the five attack points, in order of failure frequency:
- Photo-eye housings. The plastic lens fogs with salt film; the metal bracket pits first at the set-screw threads. Clean monthly with fresh water and a microfiber cloth. Do not use glass cleaner - ammonia accelerates the corrosion it claims to prevent. Check the warranty: some Ghost Controls and Linear operators void photo-eye coverage if cleaning solvents are used.
- Chain or belt take-up bracket. This sits at the motor output, exposed to airflow. On coastal-facing gates in Marina Lagoon and Coyote Point areas, we’ve measured 1/16-inch pitting depth in 18 months. The bracket weakens, the chain loosens, and the sprocket wears in an eccentric pattern. Replacement requires removing the motor - a $400-600 job that a $12 bracket would have prevented.
- Control box vent screens. Salt air enters with cooling airflow, then condenses on the circuit board at night. The first sign is intermittent operation - works at 2 PM, fails at 6 AM - because the moisture bridge across traces closes when humid, opens when dry. Some BFT operators have sealed enclosures; if yours vents, inspect the screen quarterly and replace if corroded.
- Hinge pins, even “stainless” ones. Grade 304 stainless in a galvanized hinge creates a galvanic cell when salt bridges the joint. The pin pits; the zinc sacrifices itself to protect the steel leaf; eventually both fail. In San Mateo’s coastal zone, we specify 316 stainless or polymer bushings on new installations. Existing gates: pull pins annually, clean, apply dielectric grease, reassemble.
- Underground loop wire (if present). The saw-cut in asphalt or concrete becomes a capillary for water. Salt water in the cut wicks to the wire insulation, then migrates along the copper under the jacket. Failure is sudden and complete - the loop detector sees no vehicle, the gate won’t open for cars. In flood-prone San Mateo lots, we recommend conduit burial instead of saw-cut loops.
Cleaning protocol: fresh water rinse, dry with cloth, light oil on moving steel parts, dielectric grease on electrical connections. Never pressure-wash a control box; the gasket isn’t rated for it.
How to Photograph Your Wiring Before Any Service Visit
This is the documentation habit Adrian Vance developed on commercial access-control sites in 2014, and it’s the single practice that saves San Mateo homeowners the most money. When a gate fails and you call any technician, the first hour is often spent tracing what the last person did. If you have a photo record, that hour disappears.
Here’s the protocol:
- Wide shot of the control box interior. All terminals visible, wire colors readable. Use your phone’s flash; shadows hide the critical detail. Take this photo when the gate is working normally - that’s your baseline.
- Close-up of each terminal block. Focus on screw tension and wire insulation condition. A wire with cracked insulation will fail; catching it in a photo means you can compare against future visits without opening the box again.
- Photo-eye alignment view. Stand behind the transmitter, shoot toward the receiver, with the gate in the frame. This documents the beam path and any vegetation that might grow into it.
- Motor nameplate and serial number. If you need parts, this saves a second trip. On Viking and BFT operators, the nameplate is often inside the housing - photograph it during your annual deep inspection.
- Limit-switch position indicator. Some operators have a mechanical pointer; others show position on a display. Record the reading. When we reset a limit, we photograph the before and after positions under Haven Standard Clause 4 - you should do the same for your own records.
- Overall gate position, closed and open. Stand at the same spot each time. These photos reveal post lean, track settlement, or vegetation encroachment that develops too gradually to notice day-to-day.
Store in a dated folder - “Gate Maintenance 2024” - and add new photos rather than overwriting. When you call Gate Repair in San Mateo, email the folder link or bring the phone. A technician who starts with your photo history starts 45 minutes ahead of one who doesn’t.
The Maintenance Log Format That Saves Diagnostic Fees
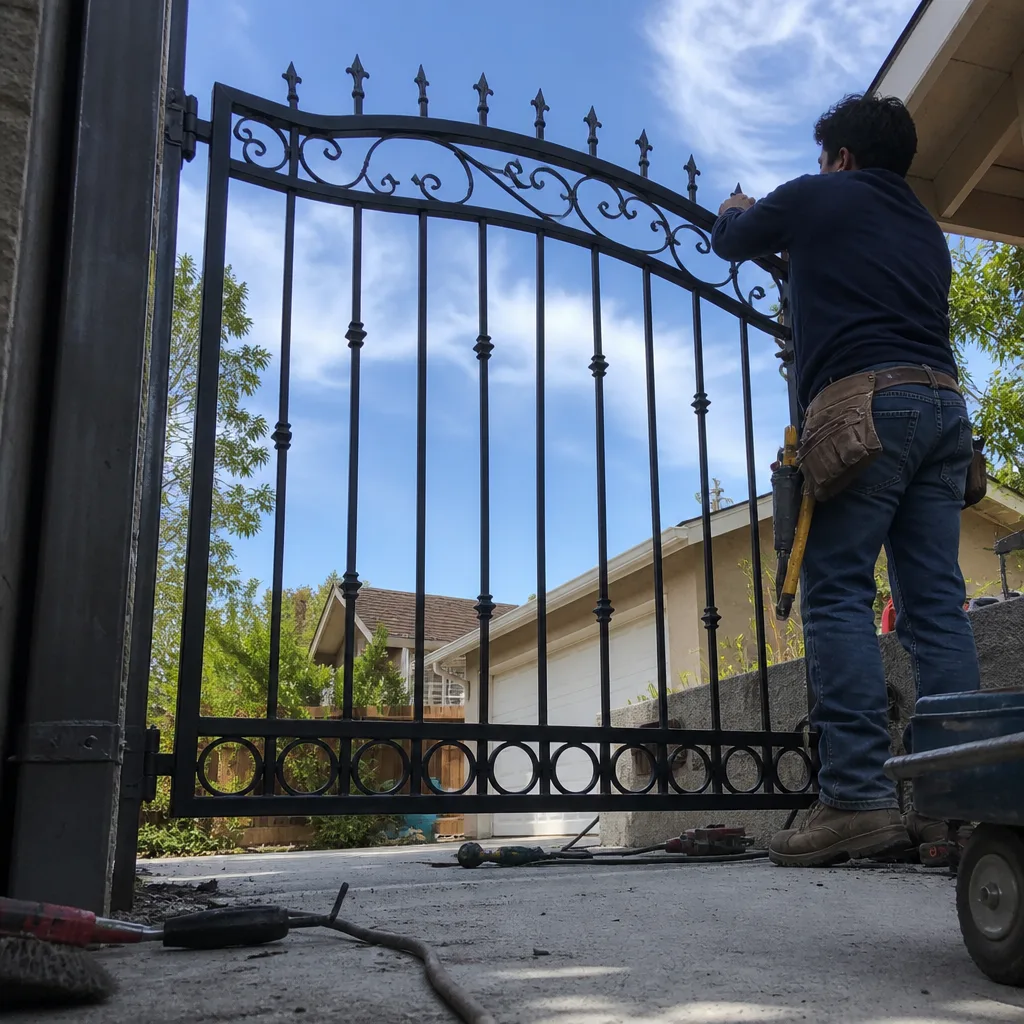
Most homeowners don’t keep a gate log. Then they pay a second diagnostic fee when the new technician can’t determine whether the current problem is new or chronic. The log prevents this.
Use this format - paper or digital, consistency matters more than medium:
Date / Inspector / Weather last 48 hours
Gate position test: Closed smoothly? Opened smoothly? Any pause or reversal?
Battery at rest: ___ V. Under load: ___ V.
Limit margin: ___ degrees.
Hinge gap top/mid/bottom: ___ / ___ / ___ inches.
Photo-eye LED: Solid / Flickering / Off.
Chain/belt condition: Describe - cracks, glaze, tension.
Control box interior: Clean / Dust / Moisture / Insects.
Concrete/post base: Same / New crack / New gap / Settlement visible.
Anything changed since last inspection:
Photos taken: List filenames or numbers.
The weather entry matters in San Mateo. A gate that “started binding last Tuesday” binds because Tuesday was the first rain in six weeks, or because the neighbor’s construction vibration shifted the post, or because the motor capacitor finally failed. The technician’s diagnosis depends on knowing which.
Under Haven Standard Clause 4, we leave a completed log sheet with every Vance Gate Repair San Mateo visit - but we can’t log what we didn’t see. Your monthly entries between our visits complete the picture.
Brand-Specific Maintenance Notes for Common San Mateo Installations
Not all operators age the same way. These are the patterns we’ve documented across 22,000+ jobs, focused on brands we see regularly in San Mateo Peninsula properties.
Linear (various models):
The actuator arm on Linear swing-gate operators uses a ball-screw drive that needs no lubrication - a selling point, but it means the screw is sealed and invisible. Failure mode: the wiper seal hardens after 5-7 years, water enters, the ball nut corrodes. Symptom is a grinding noise in the last 20% of travel, often mistaken for hinge binding. Check the seal annually; if it’s cracked or stiff, replacement is preventive maintenance, not repair. Linear’s documentation calls this “maintenance-free” - in San Mateo’s salt air, it’s maintenance-opaque, which is worse.
Viking (L-3, F-1, and K-2 series):
Viking builds heavy-duty operators popular on estate gates in Hillsborough-adjacent San Mateo. The magnetic limit system is reliable but sensitive to voltage fluctuation. If your Viking shows “Limit Error” intermittently, check battery voltage first - the limit sensor misreads below 11.8V, and the error code points you to limits when the root cause is power. We’ve traced dozens of unnecessary limit replacements to this misdiagnosis.
Ghost Controls (TSS and DTP series):
Common on newer San Mateo infill homes where solar compatibility matters. The control board has a learn-mode procedure for setting limits that’s straightforward but unforgiving - interrupt the sequence and the limits are lost, requiring a full reset. Document your limit positions (photo the display) before any power interruption or lightning event. Ghost Controls’ battery management is aggressive; a battery that reads 12.2V at rest may trigger low-battery lockout because the algorithm weights recent load performance heavily.
BFT (Phobos and Ares lines):
Italian-built, common on contemporary architecture in San Mateo’s newer developments. The oil-bath gearbox is the maintenance point - not whether it has oil, but whether the oil has emulsified with condensation. Check the sight glass annually; milky oil means water entry through the vent, common in fog-drip zones. BFT specifies a 5-year oil change interval; in Baywood-Aragon and Shoreview, we recommend 3 years.
On any brand: if the operator was installed before 2018, check for entrapment protection compliance. San Mateo follows California Building Code Chapter 31B, which requires photo eyes or edge sensors on all automatic gates. Older installations may be grandfathered until modification, but any repair that touches the control system triggers upgrade requirements. Know your install date before calling for Gate Repair services.
Annual Deep Inspection Checklist
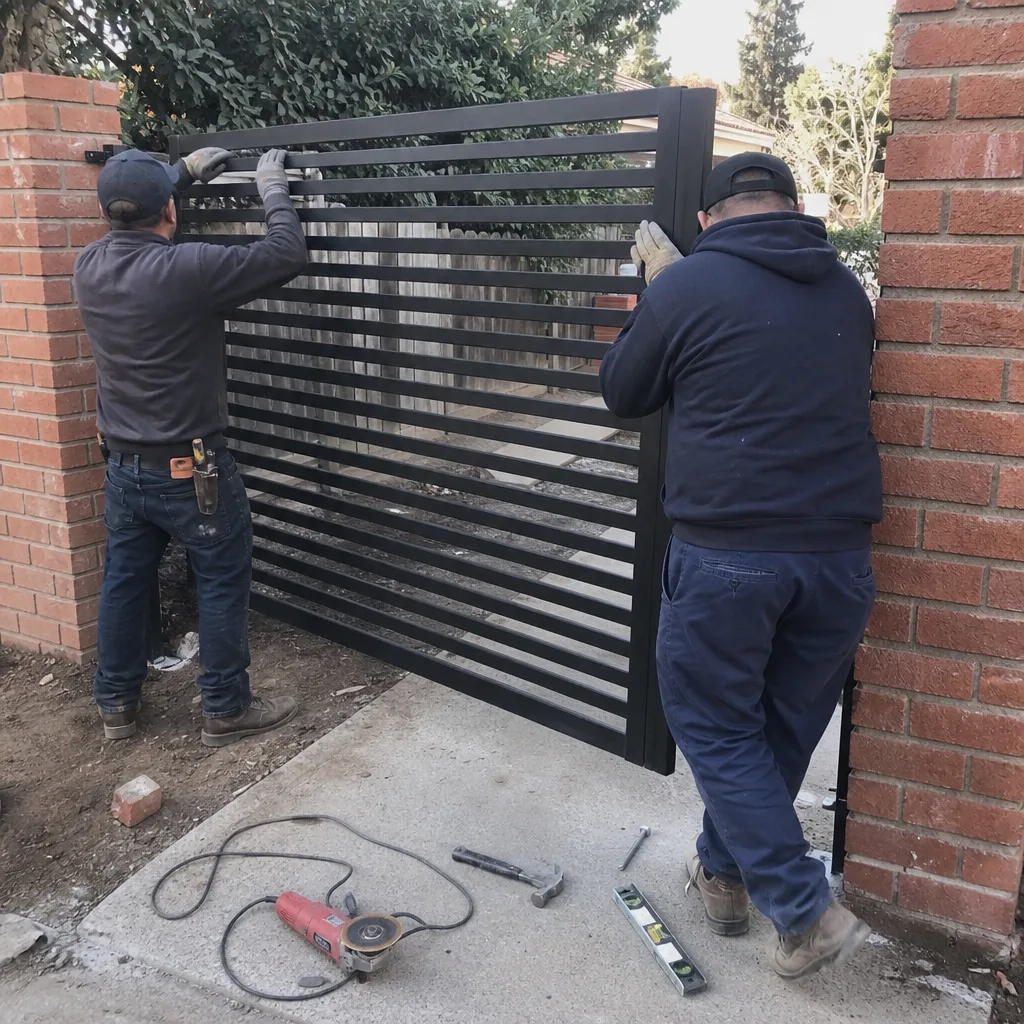
Once per year, or twice in coastal San Mateo, perform this expanded check. Set aside 90 minutes. You’ll need a torque wrench, multimeter, drill-bit gauge, camera, and the log from prior inspections.
- Power down and lock out. Disconnect battery, then AC. Verify no voltage at motor leads with your meter. This is non-negotiable - a gate that can be triggered remotely or by a neighbor’s transmitter will move.
- Remove and inspect hinge pins. Clean with solvent, measure diameter with calipers, compare to original spec (usually in the hinge catalog). A pin worn 1/32 inch below nominal has 50% of its load life remaining. Replace or schedule replacement.
- Grease with specification-appropriate lubricant. Lithium NLGI #2 for general hinge duty; moly-disulfide grease for high-load pivot points; dielectric grease for electrical connections. Never mix greases - some thickeners are incompatible and form a crust worse than no grease.
- Check post footing with a level. Plumb the post in both directions. Document any lean; even 1/2 inch at post top translates to binding at gate edge on a 14-foot gate. In San Mateo’s expansive clay, seasonal lean of 1/4 inch is normal; 1/2 inch is not.
- Remove control box cover, photograph, vacuum, inspect. Look for capacitor bulging (domed top, leaking electrolyte), relay contact arcing (pitting, carbon), and terminal corrosion (green or white deposit). Any of these is a replace-before-failure item.
- Test battery under controlled load. Disconnect from charger, apply a known load (a 12V test lamp of specified wattage), measure voltage at 30 seconds and 2 minutes. A healthy battery drops initially then stabilizes; a failing battery keeps dropping. Replace if voltage falls below 11.5V at 2 minutes.
- Exercise the manual release. Every operator has one; most San Mateo homeowners have never used theirs. Verify it disengages smoothly, the gate moves freely by hand, and the re-engagement locks positively. If the release is corroded in place, that’s your emergency access gone.
- Verify entrapment protection function. Block the photo eye during closing - gate must reverse. Apply test force to an edge sensor if present - gate must reverse. Time the reversal; under 2 seconds is code-compliant, under 1 second is achievable and safer. Document the test date; some insurance policies require annual verification.
- Update your photo record and log. Before closing the control box, final photo. File with date. This closes the documentation loop that Haven Standard requires of our technicians and that you should require of yourself.
Common Mistakes to Avoid
- Using WD-40 as hinge lubricant. It displaces water for 72 hours, then evaporates and leaves metal bare. In San Mateo’s salt air, that’s an accelerated corrosion schedule. Use lithium grease; reapply annually.
- Ignoring a “slightly” slow gate. A 20% speed reduction usually means the motor is compensating for binding by drawing more current at reduced voltage. The motor overheats; the thermal cutout trips; eventually the motor fails. The binding fix is usually cheaper than the motor replacement.
- Power-washing the control box. The gasket is rated for rain, not 1500 PSI at 6 inches. Water intrusion destroys the board. If the box is dirty, wipe it with a damp cloth.
- Skipping the manual release test. The one time you need it - power outage, fire evacuation, earthquake - is not the time to discover it’s seized. Test it every spring when you check smoke detectors.
- Calling for “a tune-up” without symptoms. A gate that passes all threshold tests doesn’t need intervention. Unnecessary disassembly introduces wear and risk. Log the numbers, trust the evidence, act only on change.
- Accepting a verbal estimate for gate work. Under Haven Standard Clause 1, the written price before work starts protects both parties. If a technician won’t put it in writing, the price isn’t real yet. Vance Gate Repair San Mateo home provides written estimates at no charge - bring a competitor’s written quote and we’ll review it free under our second-opinion policy.
When to Call a Professional
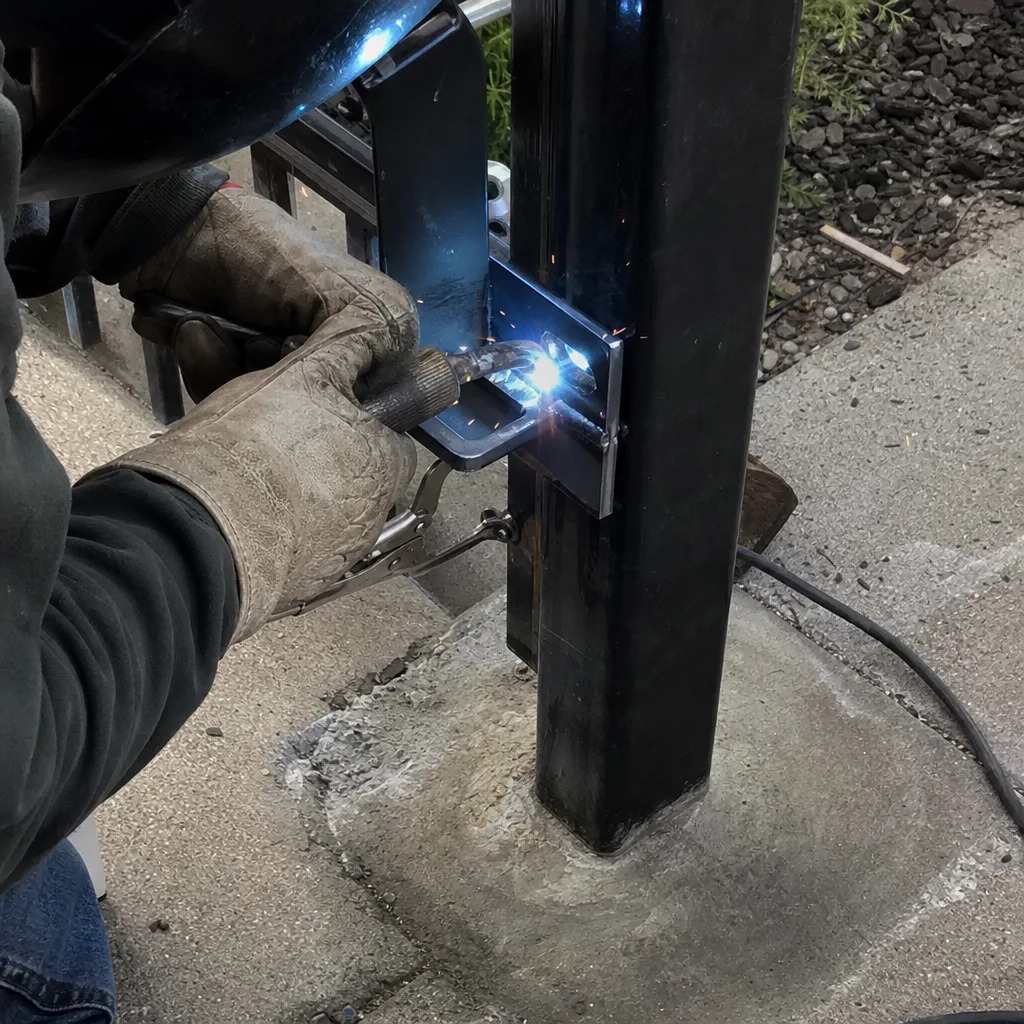
Some conditions exceed homeowner maintenance. Call a technician if you find: hinge gap over 1/4 inch (structural repair needed, not adjustment); battery below 11.5V under load (electrical diagnosis, not just replacement); limit margin over 4 degrees or drifting month-to-month (control system issue); any crack in the gate frame or post weld; or entrapment protection that fails to reverse the gate. These are safety and liability concerns, not maintenance items.
Vance Gate Repair San Mateo offers free estimates in San Mateo - call (650) 293-9440. Every visit includes a written price before work starts, documented photo evidence under Haven Standard Clause 4, and the 365-Day Done Right Promise. If you’re comparing quotes, bring any written estimate from another company; we’ll review it at no cost and tell you what we see.
Frequently Asked Questions
A professional annual maintenance visit for a residential gate in San Mateo typically runs $180-$320, depending on access (hillside lots take longer), gate type (sliding gates require more track work), and whether the operator needs software updates or limit recalibration. That covers the full inspection, documentation, lubrication, and threshold testing described in this guide. Call (650) 293-9440 for an exact quote - estimates are free, and the price is written before any work starts.
Homeowners can safely perform monthly visual checks, cleaning, and logging - the procedures in the first two sections above. We encourage it; informed homeowners catch problems earlier. But any work inside the control box, any hinge pin removal, any post or footing assessment, and any entrapment protection testing should involve a technician with the proper tools and liability coverage. The voltage present in a gate operator can cause serious injury, and an incorrectly set limit switch can create a crushing hazard. For the annual deep inspection, professional service is the safer choice.
Monthly visual checks, quarterly voltage and travel tests, and bi-annual deep inspections aligned with October and March - the Peninsula’s highest-risk transition months. In coastal neighborhoods like Baywood and Marina Lagoon where fog drip adds moisture, add a January inspection. Annual professional service is sufficient for inland San Mateo; coastal properties benefit from twice-yearly professional visits.
Three reliable indicators: speed reduction of 20% or more without binding; current draw increase of 2+ amps over baseline; and thermal cutout trips more than once per month. A motor that runs hot, smells of varnish, or makes a grinding noise in one direction is in end-stage failure. On Viking and Linear operators common in San Mateo, we also see premature failure from salt air corrosion of the motor housing seal - the motor runs fine until the day it doesn’t, with no gradual warning. Regular current-draw logging catches this before sudden failure.
We service nine major automation brands: LiftMaster, FAAC, BFT, Linear, Viking, Ghost Controls, DoorKing, Elite, and Mighty Mule. Most San Mateo residential properties run one of these. We do not steer customers toward replacement when repair is viable - our first question is what’s already on your property and whether it can be returned to reliable service. For Gate Motor & Opener in San Mateo, we evaluate the specific unit, its documented history, and your maintenance log before recommending any course of action.
Keep the original installation invoice with operator model and serial number; your maintenance log with dated entries and photos; any service invoices with scope and parts listed; and the current written estimate for any pending work. This paper trail prevents duplicate diagnostic fees, supports warranty claims, and establishes baseline performance for future comparison. For Gate Repair Permits, Codes & Inspections in CA: What You Need to Know, keep permits with your records. Under Haven Standard Clause 4, we provide a documented photo record on every Vance visit - add these to your file. If you sell your San Mateo home, this documentation transfers to the new owner and may support your disclosure obligations.
California Building Code Chapter 31B requires photo eyes or edge sensors on all automatic gates, with reversal within 2 seconds of contact. Gates installed before 2018 may be grandfathered until modified. Check your installation date; if the operator predates 2018 and has no entrapment protection, any repair that touches the control system triggers an upgrade requirement. A professional inspection can verify compliance and document it for your records. For new Gate Installation in San Mateo, compliance is built into the scope and verified before final inspection.
The Bottom Line
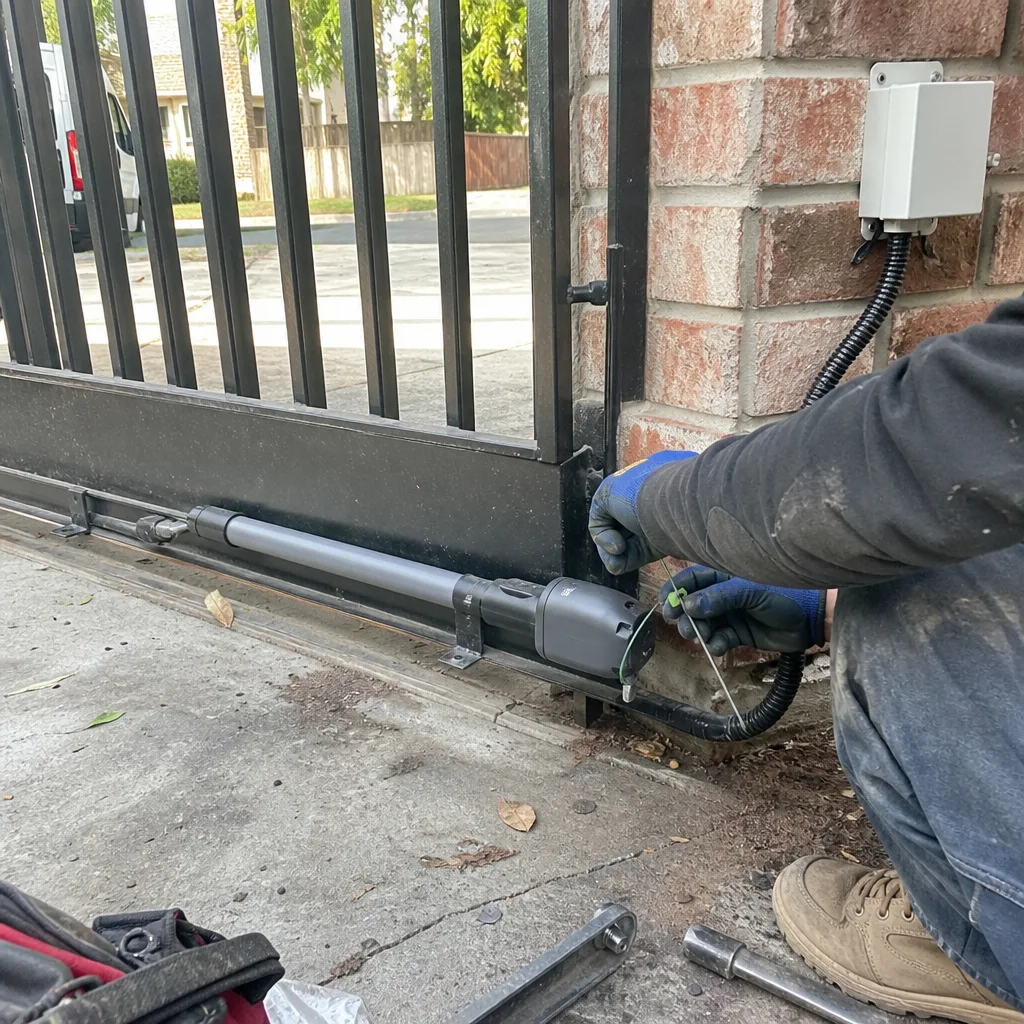
A gate maintenance checklist works when it gives you numbers to act on, not just boxes to check. The thresholds in this guide - 12.4 volts, 3/16 inch, 2 degrees, 2 seconds - separate a gate that’s aging normally from one that’s about to fail expensively. In San Mateo’s salt-air, clay-soil, fog-drip environment, the homeowners who pay least over time are those who log, photograph, and measure before calling anyone. The paper trail you build today is the diagnostic shortcut your future technician - or your future self - will work from. Start with the monthly six-point visual, add the quarterly voltage and travel tests, schedule deep inspections for October and March, and keep the log. Evidence beats memory, every time.
Written by Adrian Vance, Owner at Vance Gate Repair San Mateo, serving San Mateo since 2014.